Cycling Glasses Fit Guide: 3 Points That Matter
Contents19 min read
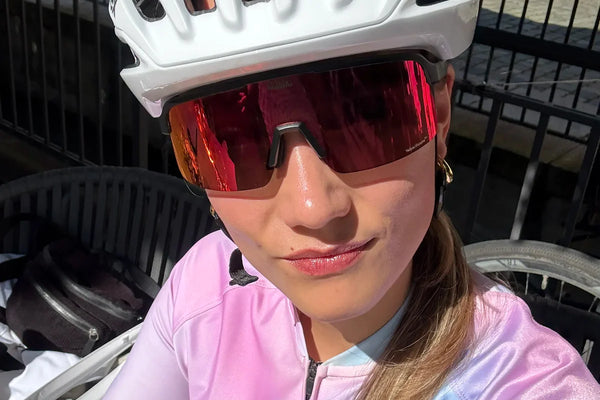
You are 60 kilometres into an autumn sportive, the kind of grey October morning where the road is still damp from overnight rain and a peloton of 200 riders is throwing spray in every direction. Your glasses have migrated three millimetres down your nose. You push them up with one knuckle, they slide again before the next bend, and by the time you reach the feed station you have spent more mental energy managing your eyewear than reading the road ahead. Bad fit is not a minor inconvenience. It is a safety issue.
Updated September 2026 · 9-minute read
This cycling glasses fit guide is about fixing that problem before the ride, not during it. Fit is reducible to three contact points: the nose bridge, the temple grip, and the lens coverage zone. Get all three right and your glasses disappear from your awareness entirely. Get one wrong and you will feel it somewhere between kilometre 40 and the finish. Below is a practical method for measuring each point, understanding what you are looking for, and matching those numbers to a frame before you buy.
01 · Why fit mattersThe case for measuring before you buy
The eyewear industry has spent considerable energy on lens technology: photochromic tints, contrast-enhancing coatings, UV ratings. These genuinely matter. But no lens technology compensates for a frame that does not stay where you put it. A pair of cycling glasses that slides, pinches, or gaps at the edges creates a cascade of problems: distorted vision from a tilted lens angle, wind ingress from a poorly sealed lower edge, and the constant low-level distraction of managing a piece of kit that should be invisible.
The good news is that fit is not mysterious. It is geometry. Your face has three measurable anchor points that determine whether a frame will work for you, and once you know your own numbers the process of choosing glasses becomes straightforward. This guide walks through each point methodically, from measurement to what to look for in a frame specification.
02 · Fit point oneThe nose bridge: your primary anchor
The nose bridge is where cycling glasses fail most often. It is the primary anchor point of the frame, the contact zone that holds everything in position relative to your eyes. When the nose bridge fit is wrong, no amount of temple tension will save the glasses from migrating during a hard effort.
To measure your nose bridge width, use a ruler or soft tape measure and take the distance between the inner corners of your eyes in millimetres. This is the standard measurement used in the eyewear industry and referred to as the DBL (distance between lenses) when it appears on a frame. Most adults fall between 14 mm and 22 mm, with a meaningful spread in both directions. If you have previously bought glasses and found that the nose piece sits too high, too narrow, or creates a red mark at the top of your nose, the DBL of the frame was mismatched to yours.
For cycling specifically, the nose bridge situation is complicated by sweat. During any sustained effort above zone 2, perspiration reduces friction at the nose pad contact points. This is why heavier frames with a mismatched bridge width slide disproportionately. A lighter frame reduces the downward gravitational pull, and adjustable nose pads increase the surface area of contact, distributing the weight and compensating for moderate bridge width variation.
The nose bridge is not a comfort feature. It is the structural anchor of the entire frame. Every other fit adjustment is corrective, not foundational.Velluto Fit Reference, 2026
When reviewing frame specifications, look for two things: whether the nose pads are adjustable, and whether the manufacturer publishes the nose bridge width. Many cycling frames list only the total frame width, which tells you less. Adjustable nose pads are the most useful feature for online buying because they allow you to compensate for a moderate mismatch without returning the frame. Fixed, moulded nose bridges give you no room to correct.
The position the frame sits at vertically is also determined by the nose bridge. If the pads sit too wide for your bridge, the frame rides up and the optical centre of the lens rises above your line of sight. If they sit too narrow, the frame depresses and you are looking through the lower portion of the lens with road grit entering from above the top edge. Both scenarios are visible to you in the mirror before you ride: if the lens does not sit symmetrically around your pupils, the bridge width is wrong.

03 · Fit point twoTemple grip: stable without squeezing
Temple grip is the tension the arms of the frame exert against the sides of your skull. It sounds simple but it is the fit point that most cyclists tolerate incorrectly, usually on the tight side, because the immediate sensation of a snug frame feels like security. It is not. A frame that is too tight at the temples creates cumulative pressure over 2 to 3 hours that manifests as a tension headache and leaves visible red marks on your skin when you remove the glasses. A frame that is too loose bounces during sprints and vibrates on gravel or cobbled sections, both of which are disorienting and potentially dangerous.
Correct temple grip means the glasses stay completely still through a sprint, a head check over your shoulder, and a rough descent, without you being aware of lateral pressure on your skull. This is the benchmark: stability without sensation.
To assess temple fit before buying, the key specification is temple length. This is typically measured from the hinge to the tip and published in millimetres. The standard range for cycling glasses is 120 mm to 145 mm. A shorter temple length means the bend at the ear sits further forward, which reduces grip on larger heads. A longer temple means the bend sits further back, which is more secure on wider skulls but can cause the arm to press uncomfortably behind the ear on narrower heads.
The practical measurement is simple. Using a flexible tape measure, run it from the hinge point of your current glasses (or from roughly where the temple of the frame would sit, at the outer corner of your eye) back along the side of your head to the point where the arm would bend over the ear. Note the distance in millimetres and compare to the frame's published temple length. For most cycling frames, a fit within 5 mm of your measurement produces correct tension without adjustment.
One point worth emphasis: always check temple fit with your helmet fitted. The retention system on most road helmets exerts slight inward pressure at the sides of the skull, which effectively tightens the frame. A pair of glasses that sits at the correct tension without a helmet may become uncomfortably tight when the helmet is added. This is a common source of long-ride discomfort that riders incorrectly attribute to the glasses themselves rather than the combined system. Try on both together before your first long ride in a new pair of glasses.
04 · Fit point threeLens coverage: what the frame actually protects
Lens coverage is the fit point that cyclists most often evaluate aesthetically rather than functionally. A wider, deeper lens looks more performance-orientated. A smaller lens looks cleaner. But for road cycling, lens coverage is a functional specification with real consequences for what enters your visual field and what enters your eye.
The relevant dimensions are lens height (the vertical distance from the top to the bottom of the optical zone) and lens width (horizontal coverage at eye level). For road cycling, lens height is the more critical measurement because of the directional nature of road hazards: grit, spray, and low sun all primarily enter from the front-low vector, below the centre of the frame.
The minimum functional lens height for road cycling is approximately 35 mm, measured vertically from the top of the lens to the bottom edge at the optical centre. At this height the lens covers from just above the eyebrow to the top of the cheekbone, which is the zone through which most road debris trajectories pass. Below this height, the lower edge of the frame fails to block spray from a wet road or from the wheel of the rider ahead of you.
For autumn riding specifically, lens coverage becomes more important rather than less. Low sun angles in September and October mean that light enters from directions that summer-height lenses do not cover. An autumn sportive with a 7 a.m. start in the Netherlands or northern Germany will put the sun at roughly 10 to 15 degrees above the horizon for the first hour. If your lens does not extend low enough on your face, you are riding into the sun with the lower portion of your visual field unprotected.

Lens width matters most for peripheral protection. Cycling at speed creates a wind tunnel effect around the face, and without adequate lateral coverage, that airflow enters at the outer corners of the lens and causes dry-eye symptoms within an hour. Wide-wrap lens geometry blocks this lateral air ingress. When evaluating coverage, hold the frame up and look at the angle at which the lens curves around the temple. A flatter lens offers less peripheral protection. A deeper wrap offers more but can create distortion at the outer edges if the optical quality does not support the curve geometry.
05 · How to measureA three-step method you can do at home
You do not need specialist equipment. A flexible tape measure or a ruler and a mirror are sufficient for all three measurements. Take each measurement twice and average the results.
Step 1: Nose bridge width. Stand in front of a mirror in good light. Place the ruler flat across the bridge of your nose, level with the inner corners of your eyes. Measure the distance between the inner corners in millimetres. This is your bridge width. Note it down. If you own a pair of glasses that fit well, you can also measure the DBL of that frame (the distance between the inner edges of the two lenses) as a proxy for your bridge width, since a well-fitting frame's DBL typically matches the wearer's bridge measurement closely.
Step 2: Temple length. Using a flexible tape, start at the outer corner of your eye (where the hinge of a frame would sit) and run the tape back along the side of your head, following the natural curve over and behind the ear, to the point where a frame arm would end. This is your functional temple length. The measurement point is where the arm would bend down behind the ear, not where the tip would end. For most adults this falls between 125 mm and 140 mm.
Step 3: Lens height check. This one is relative rather than absolute. Stand in front of the mirror and mark (with a finger or light touch) the point just above your eyebrow and the top of your cheekbone on the same side. The vertical distance between these two points is the minimum lens height you need. For most adults this is between 33 mm and 42 mm. Any frame with a published lens height above your minimum will provide adequate coverage. Below it, you have a gap.
Once you have all three numbers, compare them to the published specifications of the frame you are considering. If a manufacturer does not publish nose bridge width, temple length, and lens height separately, that is itself informative. Brands that invest in fit engineering publish fit data because it is a selling point. Those that do not are often relying on one-size-fits-most tooling where the specifications are not meaningfully optimised.
06 · Frame weight and fit stabilityWhy 25 grams is a functional number
Frame weight interacts with fit in ways that are not always obvious. A heavier frame exerts more downward force on the nose bridge contact points. This does not matter much when you are standing still. It matters enormously when you are sweating at threshold power on a 12% climb.
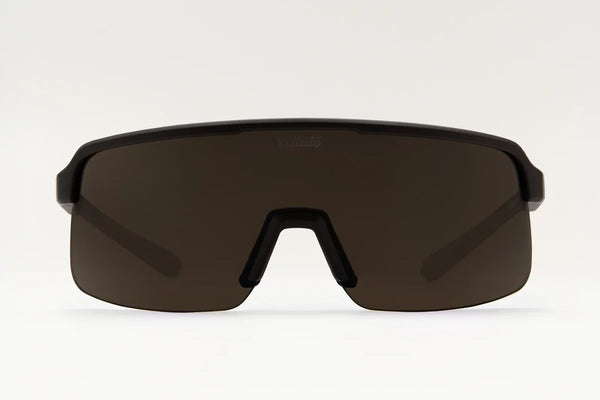
At 25 grams, the Velluto StradaPro sits at the lower end of the road cycling frame weight range. This is not cosmetic. Lighter frames slip less because the gravitational load on the nose pad contact points is reduced. The physics are simple: friction at the nose pad must exceed the downward gravitational force on the frame for the glasses to stay in position. Reduce the frame weight and the friction requirement goes down. Add sweat and you reduce the available friction. A heavier frame in the same conditions requires more friction to stay put, which it does not have, and so it slides.
The secondary weight benefit is fatigue. On a 100 km sportive, you are wearing the glasses for 3 to 5 hours. A heavier frame creates cumulative loading at the nose bridge and behind the ears. Individually these loads are small. Cumulatively they contribute to the discomfort that characterises a poor-fitting pair of glasses worn for a long time, in a way that is difficult to separate from the frame geometry itself. Lighter is categorically better for long rides, everything else being equal.

07 · Adjustability and the online buying problemWhat adjustable nose pads actually solve
Buying cycling glasses online has one structural problem: you cannot try them on before you commit. The traditional solution was to buy from a physical retailer, which limits your access to a much smaller range of frames and lenses. The practical solution, from a fit engineering perspective, is adjustable nose pads combined with a meaningful trial period.
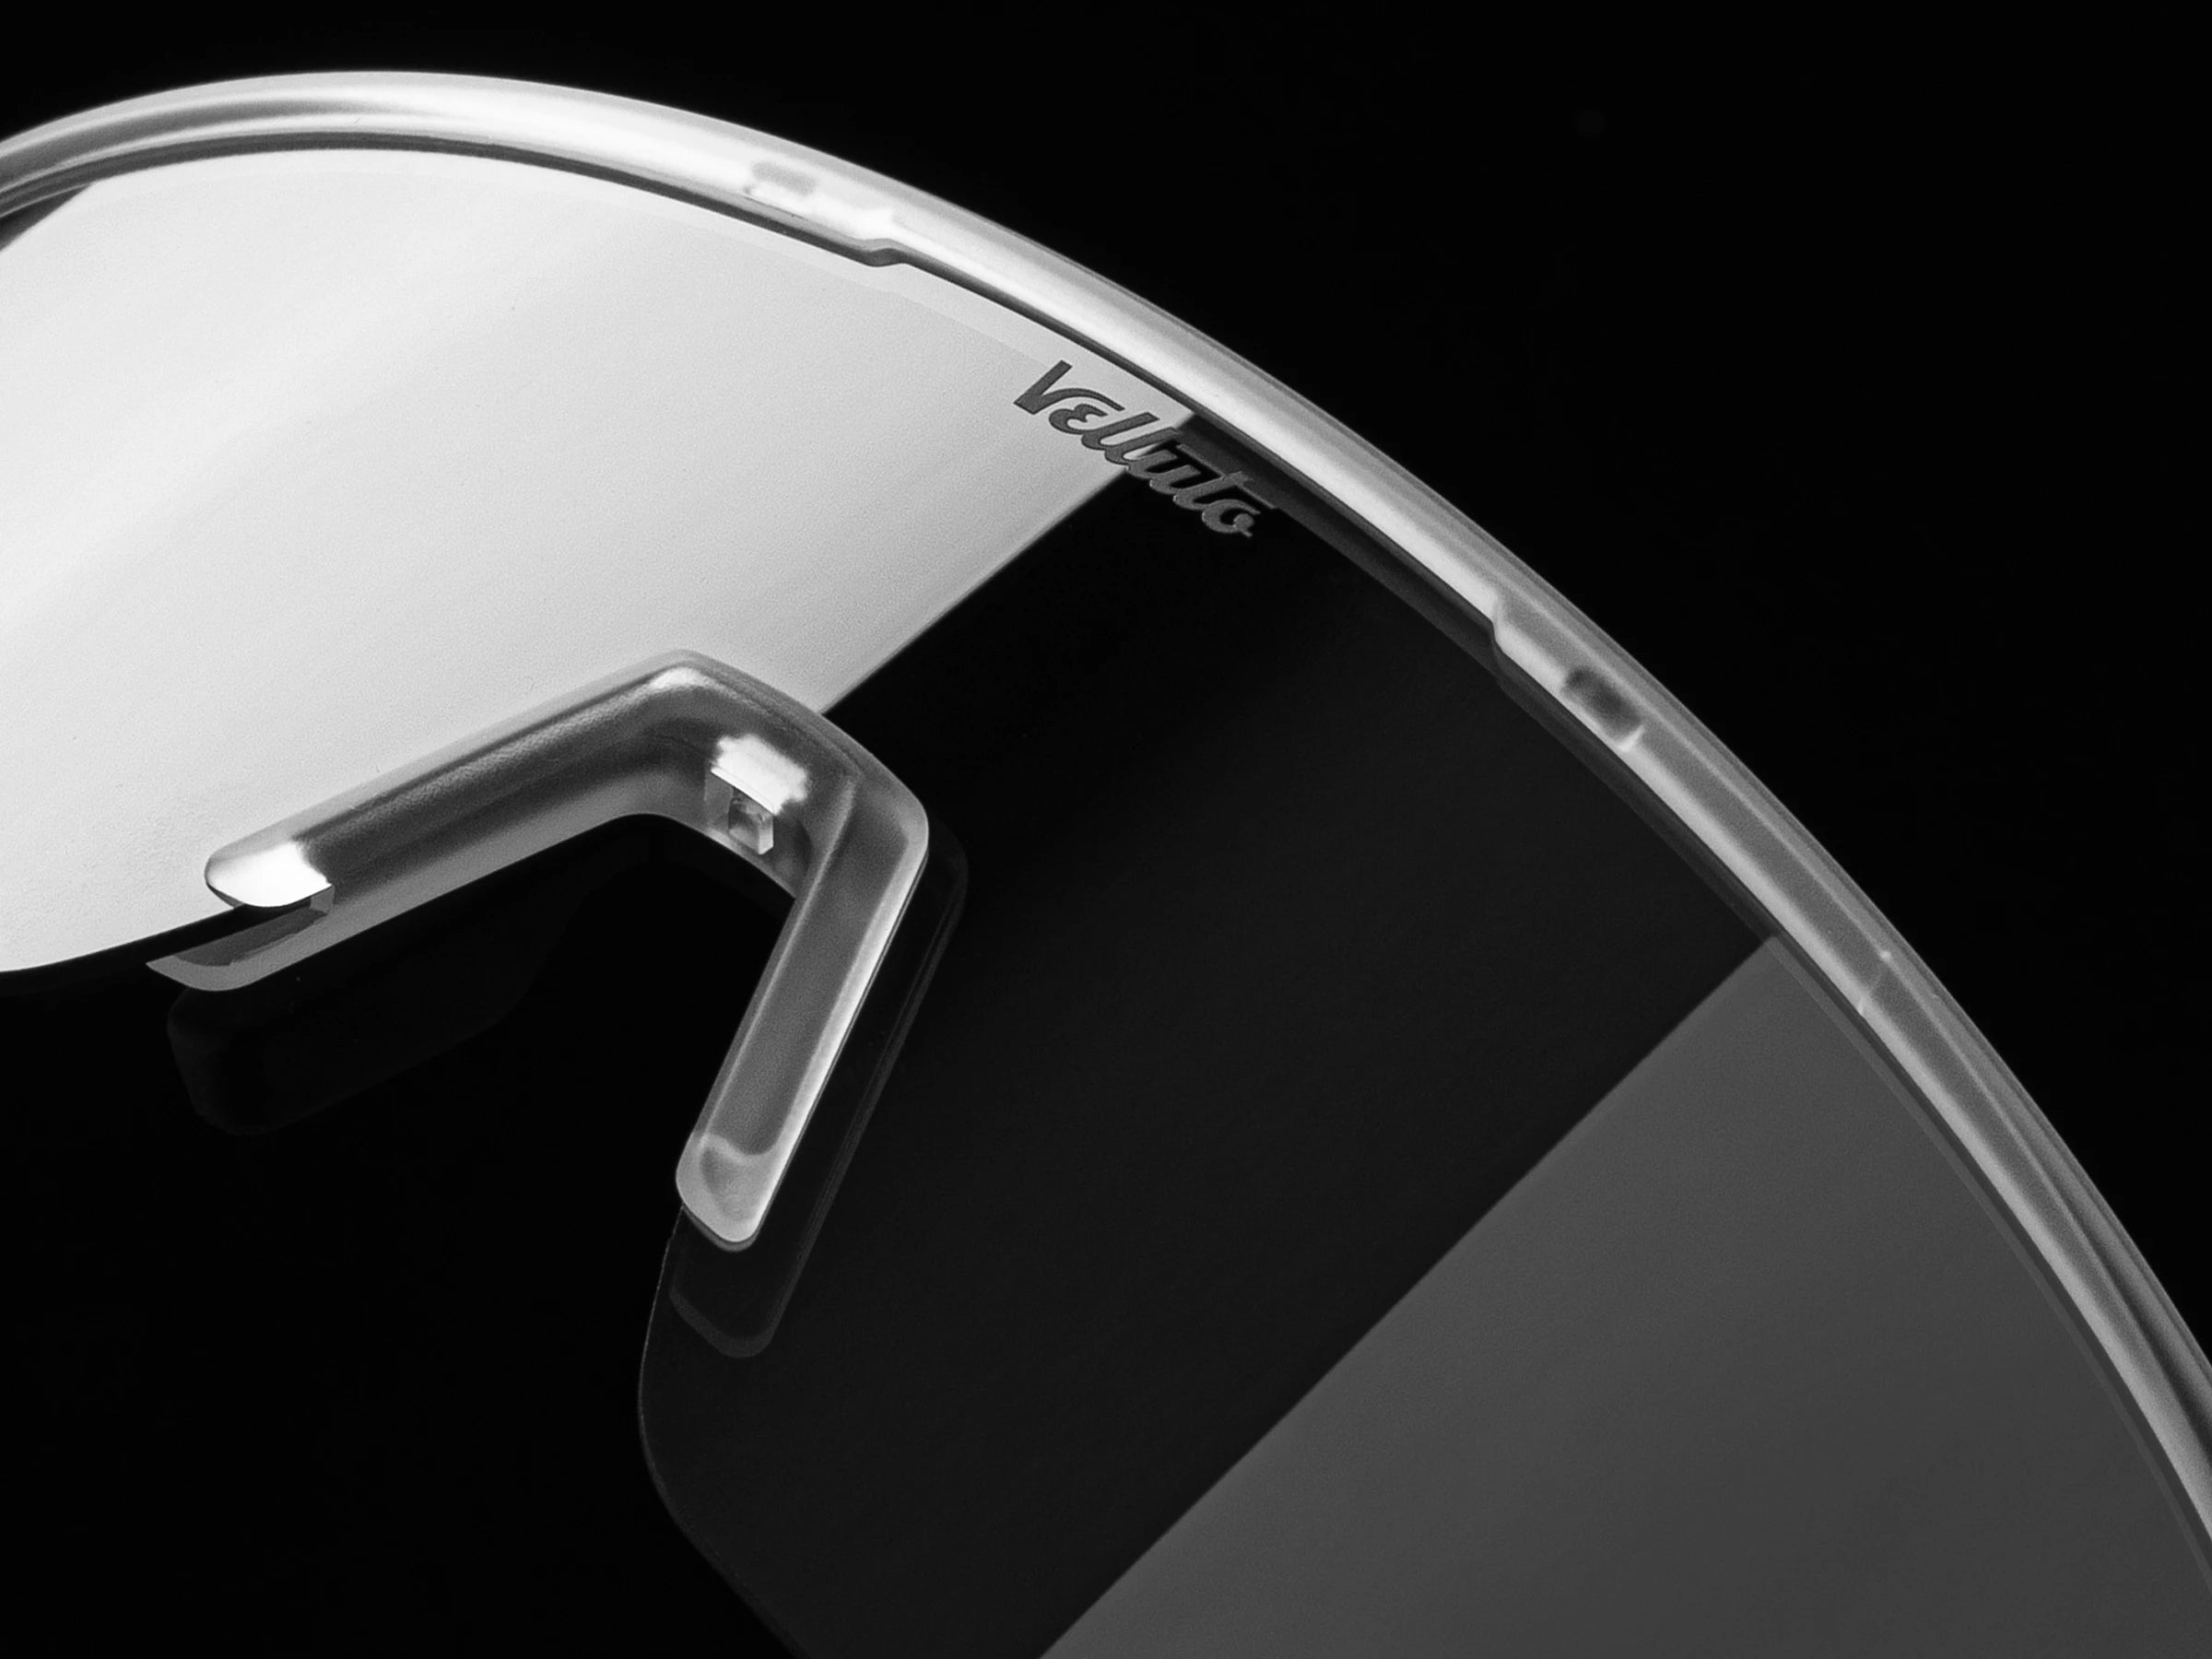
Adjustable nose pads address the most common fit variable, which is nose bridge width. By repositioning the pads inward or outward without tools, you change both the bridge width the frame presents and the height at which the frame sits on your face. This single adjustment compensates for moderate bridge width variation and allows you to fine-tune the vertical position of the lens relative to your eye line. No specialist knowledge is required. You hold the frame, reposition the pad, try it on, and repeat until the frame sits level and the lens centres correctly on your pupils.
What adjustable nose pads do not solve is a fundamentally wrong temple length or a lens that is too small for your coverage needs. Those require selecting a different frame. But since nose bridge mismatch accounts for the majority of cycling glasses fit failures, addressing it with adjustable pads eliminates the largest single source of fit risk in online buying.
The 30-day risk-free trial that Velluto offers with the StradaPro is the complementary solution for the remaining uncertainty. If after adjusting the nose pads and checking fit with your helmet the frame still does not work for your face geometry, you return it. The trial period should be long enough to cover several real rides in variable conditions, including at least one long effort where fit problems under sweat and fatigue become apparent. Thirty days is sufficient for this. A weekend is not.

08 · Fit across face typesThe geometry of different face shapes
Face geometry varies significantly between individuals and the eyewear industry's historical approach of grouping this variation into broad categories (oval, round, square, heart) is not especially useful for functional fit. What matters for cycling glasses is not the aesthetic shape of your face but the three dimensional relationships between the specific anchor points: bridge width, temple width, and the vertical distance from bridge to cheekbone.
A narrow face typically has a shorter distance between the temples, which means a standard cycling frame will be too wide and the temples will not grip correctly. The frame gaps at the sides rather than wrapping, and the lateral protection of the lens is compromised. Narrow-face riders should specifically check published frame width (measured across the front of the frame) and compare to the distance across their own face at eye level.
A wide or longer face often has a higher nose bridge, which raises the natural sitting position of the frame. Riders with this geometry frequently find that standard frames sit too low and the lens drops below the optimal optical position. Adjustable nose pads allow the frame to be raised slightly by angling the pads to increase their effective height, which compensates for a higher bridge without requiring a different frame size.
High-cheekbone anatomy creates a specific issue with lens contact. A deep lens on a high-cheekbone face will touch the cheekbone when the rider looks down, which pushes the frame upward and away from the nose. This is sometimes incorrectly diagnosed as a temple grip problem. The fix is either a slightly shallower lens or raising the frame via nose pad adjustment so the bottom lens edge clears the cheekbone in all head positions including the aerodynamic looking-down riding position.
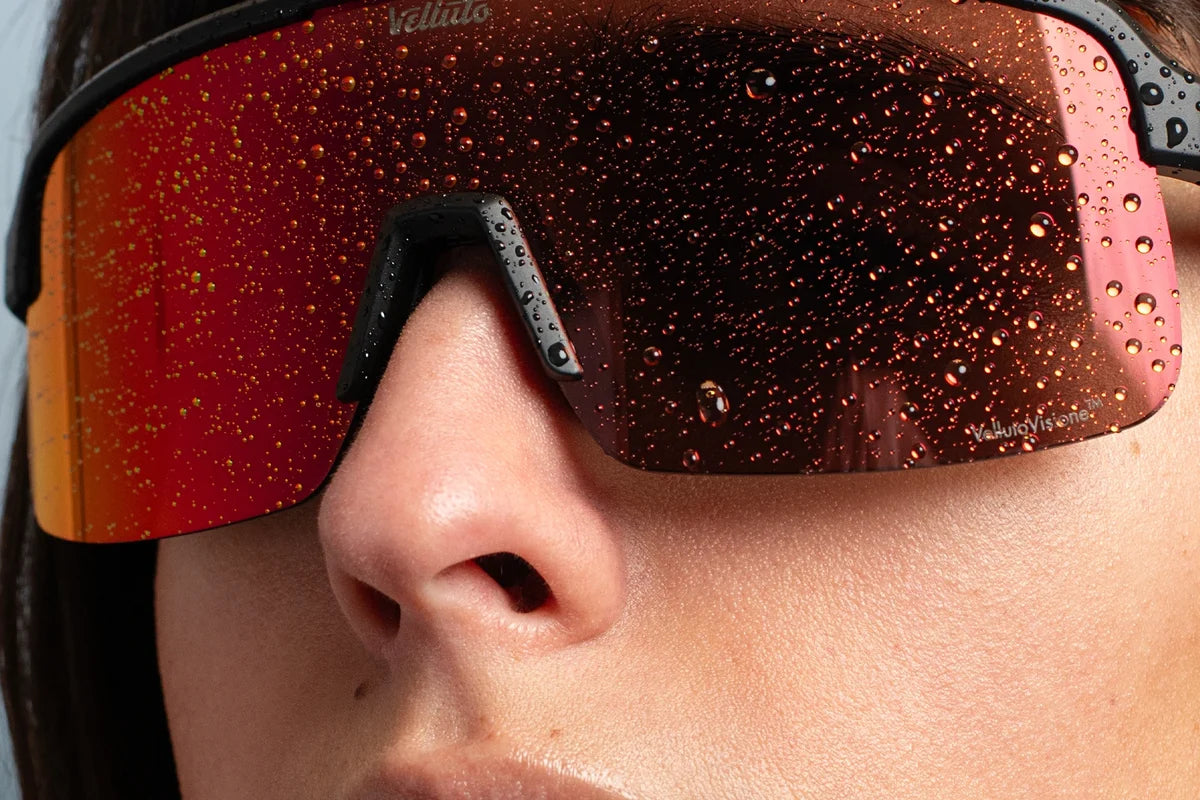
The StradaPro fits a wide range of face shapes because of its combination of adjustable nose pads and the two-lens click-in system that gives you clear VellutoPuro and high-contrast VellutoVisione options without changing the frame. Different riders, different light conditions, same frame. For a practical overview of the full StradaPro range by colour, see the section below.


09 · FAQFrequently Asked Questions
Compare the full lineup in the Velluto StradaPro cycling glasses collection.
How do I know if my cycling glasses fit correctly?
What face measurements matter when choosing cycling glasses?
How should cycling glasses sit on my nose?
Why do my cycling glasses slide down when I sweat?
What is temple grip in cycling glasses and why does it matter?
How much lens coverage do I actually need for road cycling?
Can I adjust cycling glasses without going to a shop?
Do cycling glasses fit differently with a helmet?
Are cycling glasses fit guides the same for men and women?
Fit is the one specification that no lens technology upgrades around. Get your three measurements, compare them to a frame's published specs, and use adjustable nose pads to close the gap. If you want to put this to practice without risk, the StradaPro's 30-day trial gives you enough real rides to know whether the fit is right before you commit. Start at velluto-shop.com and use the fit data in this guide to narrow your choice before you order.